ARTICLE
DIY Electric Golf Push Cart: A Comprehensive Guide
Chris Lang
Read Time: 16 minutes

I’ve been an avid golfer for years, but recently lugging my clubs around the course had started to wear me down. Sure, it's great exercise but sometimes you want to preserve that energy for your swing, you know? Then the thought hit me: What if I could build my own DIY electric golf push cart? After all, I love tinkering and tackling projects.
Building your own DIY electric golf push cart might seem intimidating, but it’s a rewarding experience. It’s incredibly satisfying to zip around the green with an electric golf caddy you built yourself. Beyond pride, crafting your own golf trolley lets you customize it to your exact needs. Don’t settle for a cookie-cutter model from a store when you can create your ideal ride.
Designing Your DIY Electric Golf Push Cart

First things first, consider what matters most to you in a golf push cart. Do you need something compact and easy to store? Or are you after maximum storage for all your golf bag and gear? These questions will guide your design choices.
It’s helpful to sketch out some ideas, noting the dimensions and placement of components like the motor, battery pack, and control panel. You can find free CAD software online to help with this, which lets you design in 3D. It’s also a great idea to check out online forums. Other DIY enthusiasts post their builds and you can pick up a ton of tips and tricks that way. Or simple explore ready made golf cart conversion kits.
Motor Matters
This is where you decide on the heart of your motorized golf machine. I went with a brushless DC motor because it packs more power and lasts longer than a brushed one. Trust me, for conquering hills on the golf courses, you want that extra oomph. I learned this the hard way.
Remember, the higher the motor voltage, the more powerful it will be. You'll want to consider if you want a single motor or dual motor for your electric golf caddy, too.
Power Up with the Right Battery

A high-capacity lithium-ion battery is your best bet here. This is crucial for two reasons.
Firstly, you'll get longer rounds out of a single charge. Nobody wants to push their cart halfway through the back nine. Secondly, these batteries are lightweight, which impacts how easily your cart maneuvers.
Other Crucial Components
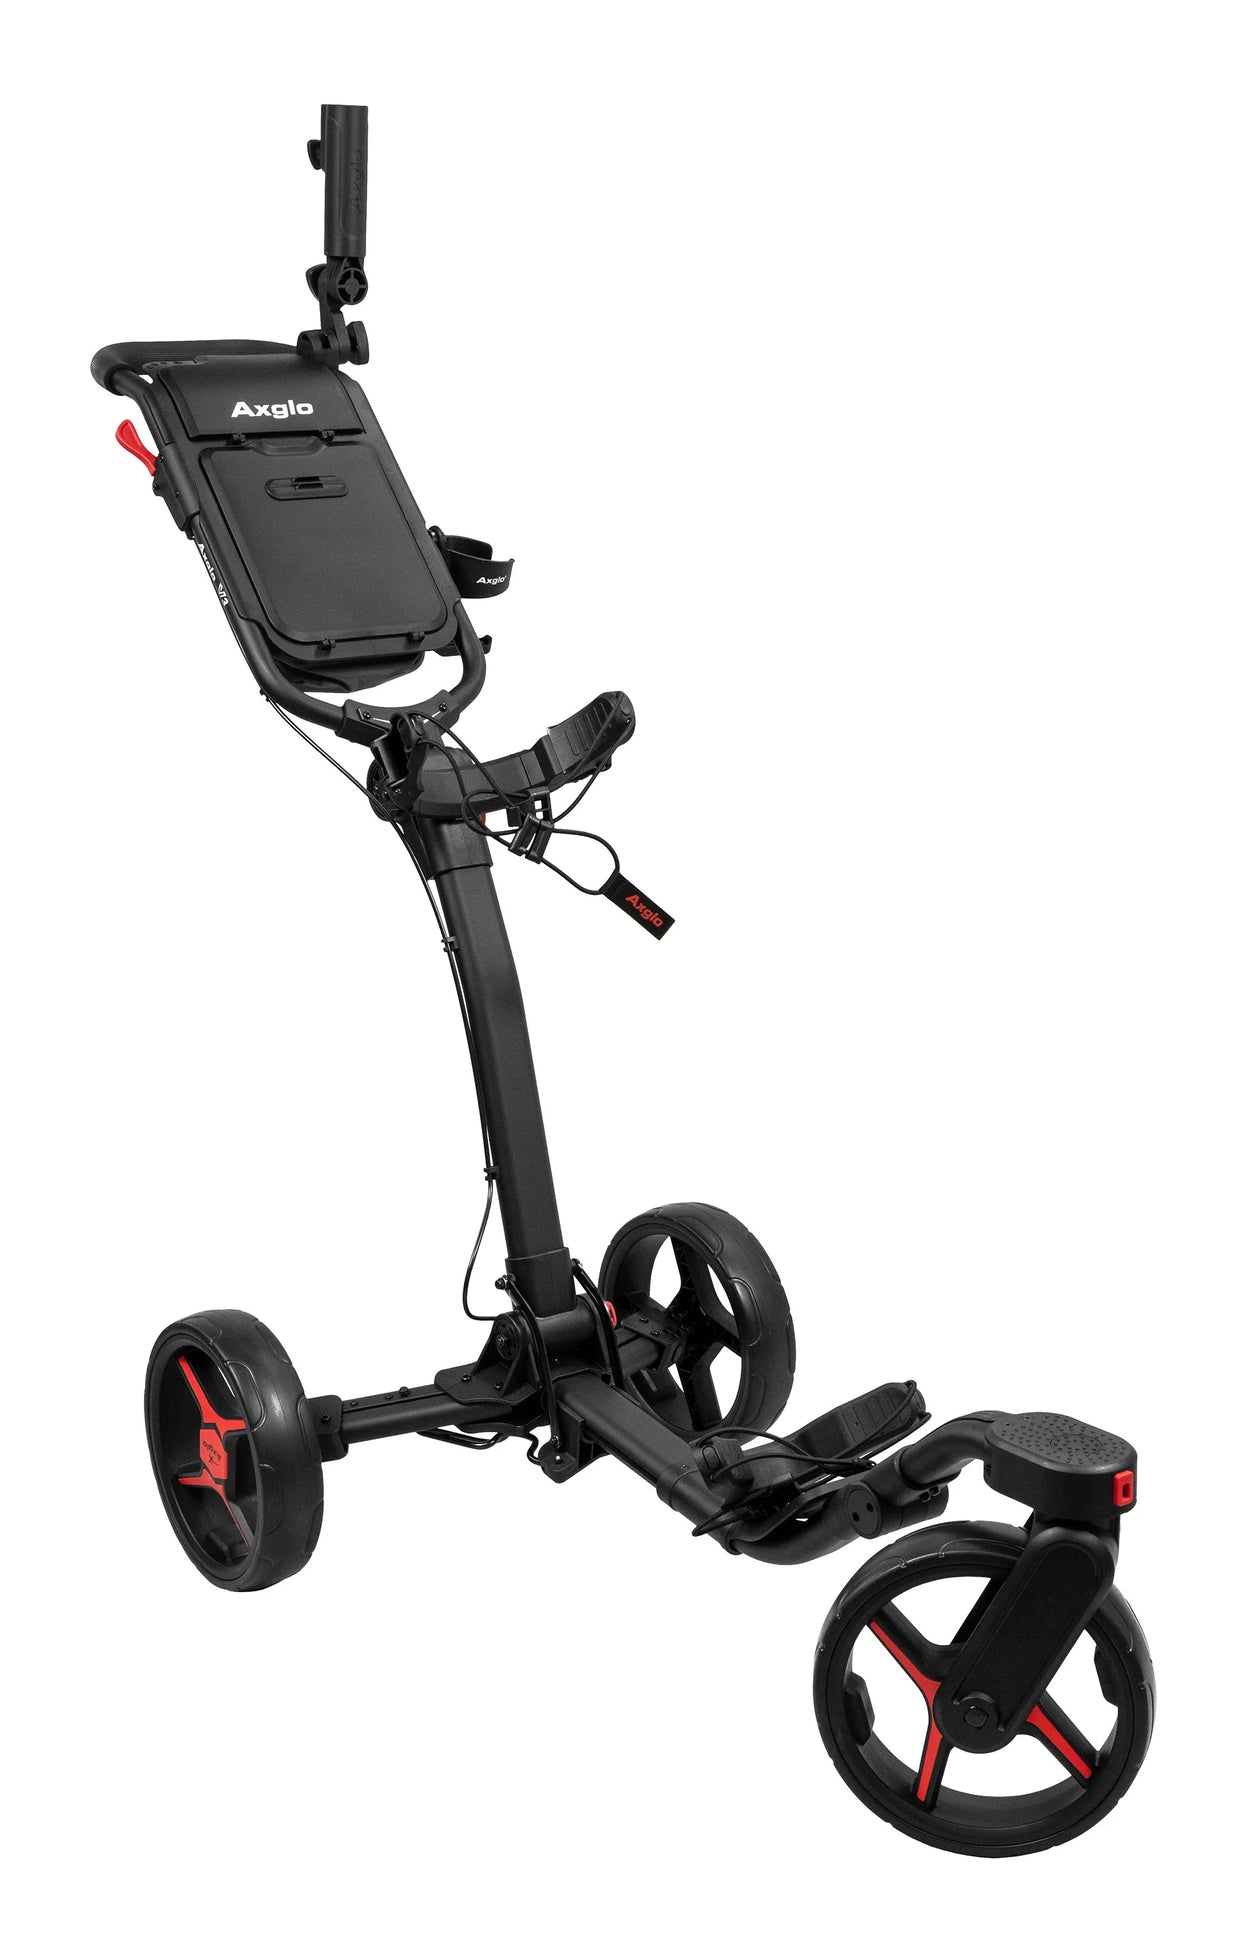
To bring your vision to life, you’ll need a sturdy frame, durable wheels (consider those all-terrain options.), a speed controller to manage the motor's output, a throttle (a thumb throttle is a personal favorite), wiring to connect everything, and a control system for effortless direction.
I can’t emphasize this enough: never skimp on the quality of your components, particularly electrical ones. It’s a matter of safety. You'll also want to factor in things like the motor shaft, motor controller, and an anti-tip wheel for safety and functionality. We also have deals on golf push cart conversion kits.
Building Your DIY Electric Golf Push Cart
Building your own electric golf push cart is a rewarding project that allows you to customize your cart to your exact specifications. Here’s a step-by-step guide to help you through the process:
1. Assemble the Frame

The first step is to build the frame, which will act as the foundation for your entire cart. A strong, sturdy frame is essential, as it will carry the weight of the motor, battery, and your golf gear.
- Choose materials like lightweight aluminum or steel for durability.
- Ensure the frame is stable enough to handle uneven terrains often found on golf courses.
- Make sure there’s enough space to accommodate the motor and battery later on.
2. Install the Wheels
Once the frame is ready, it's time to install the wheels. The wheels will play a crucial role in making sure your cart moves smoothly and in the right direction.
- Front and Rear Wheels: Select large, durable wheels for better maneuverability on rough surfaces.
- Ensure the wheels are properly aligned to avoid the cart pulling to one side.
- Add locking mechanisms if you need to prevent the cart from rolling away on inclines.
Learn the difference between 3 wheel vs 4 wheel golf push cart.
3. Mount the Motor
The motor is the powerhouse of your DIY electric golf push cart, so careful installation is key.
- Motor Placement: Secure the motor in a location where it has direct power transfer to the wheels.
- You may need to adjust the motor’s position to optimize performance based on your frame’s design.
- Use vibration-dampening mounts to reduce noise and wear.
4. Connect the Battery and Wiring
After securing the motor, it’s time to connect the battery and wiring, which will power your cart.
- Choose a battery that offers the right balance of power and weight. Lithium-ion batteries are a popular choice for their long life and lightweight.
- Wiring Tips: Make sure all wiring is secure and insulated to avoid short circuits.
- Double-check the connections before powering on the system to prevent any mishaps.
5. Install the Throttle and Control System
The throttle and control system are what will allow you to manage the cart’s speed and direction.
- Throttle Placement: Position the throttle in an easy-to-reach location, such as the handle or near the battery compartment.
- Ensure the throttle works smoothly with the motor to give you seamless control over your cart’s movements.
- Control System: Install a user-friendly control system that allows for speed adjustments and braking.
6. Optional: Add a Remote Control
For extra convenience, consider adding a remote control system to your cart.
- A remote control allows you to operate the cart from a distance, giving you more freedom as you walk across the golf course.
- Look for a system that offers simple commands for forward, reverse, and stop functions.
Putting Your Cart to the Test

Before taking your newly built electric golf cart to the course, it’s essential to conduct thorough testing on a smaller scale. This trial phase is like your personal quality control check, allowing you to spot potential issues and make necessary adjustments before hitting the fairway. Many DIY builders often overlook this step, but it can save you from frustrating breakdowns later on.
Start by testing the basic functionality. For instance, do the wheels turn freely and smoothly, or is there any resistance? A common issue people face is misaligned wheels, which can cause the cart to veer off course. In one real-life example, a DIY builder found that their cart consistently pulled to the left. The problem? One of the wheel hubs was slightly off-center. A quick adjustment fixed this, ensuring the cart rolled straight and true.
Next, test the motor. Does it provide the desired power output without overheating? Some builders have found that their motor, while powerful enough, generated too much heat during extended use. To avoid this, ensure that the motor has proper ventilation or cooling, especially if you're planning to use the cart in hot weather.
Check how responsive your speed control is. Does the cart accelerate and decelerate smoothly, or is there a noticeable delay? One builder found that his throttle was too sensitive, causing the cart to jerk forward with the slightest touch. By fine-tuning the throttle settings, he was able to achieve more precise speed control, allowing for smoother operation on the course.
Lastly, examine the weight distribution. If your cart feels unbalanced, it could tip over on uneven terrain or steep inclines. A golfer shared their experience of having to reposition the battery closer to the center of the cart to distribute the weight more evenly. This small tweak made a significant difference in the cart’s stability, especially on hilly courses. Not sure how to properly use a golf push cart?
By taking the time to test your cart and making these adjustments, you’ll be ensuring a smoother, more enjoyable experience when you finally take it to the course.
Conclusion
There's an immense sense of accomplishment when you roll up to the first tee with a DIY electric golf push cart you’ve built with your own two hands. But it’s about more than just bragging rights. You've customized every aspect to your liking, saved money compared to buying a top-of-the-line model, and acquired a new skill.
And let’s be honest, there's a certain joy in taking on a project like this. It reminds you that sometimes, the best things in life are handcrafted.
Q: What materials do I need to convert my push cart into an electric golf cart?
A: To convert your push cart into a motorized golf push cart, you will need a motor kit, battery pack (preferably lithium-ion), an Arduino for controlling the electronics, and wires to connect everything. Additionally, you may need tools such as a drill and some basic hardware to attach the motor to the cart.
Q: Can I use a remote control for my electric golf cart?
A: Yes, you can use an RC remote to control your electric push cart. This allows for easy steering and operation without having to manually push the cart. Make sure to select a compatible remote control system that works with the motorized components of your cart.
Q: How do I ensure my DIY electric golf cart has enough battery life?
A: To ensure your electric cart has enough battery life, choose a lithium-ion battery pack with a suitable voltage and capacity for your motor. It's important to calculate the expected power consumption based on the motor specifications and the weight of the load, so you need to be able to select a battery that can handle your usage.
Q: What type of motor should I use for my DIY electric golf push cart?
A: For a DIY electric golf push cart, consider using a DC motor that is compatible with your battery pack. You can opt for a 24-volt motor for better performance, especially when going up hills. Ensure the motor has enough torque to handle the weight of the cart and your golf clubs.
Q: Is it possible to convert a 4 wheel pushcart into an electric cart?
A: Yes, you can convert a 4 wheel pushcart into an electric cart. The process involves attaching a motor kit to the cart and ensuring proper wiring to control the motor. Make sure that the cart is stable enough to handle the additional weight of the motor and battery.
Q: What are some tips for successfully converting my golf cart?
A: Some tips include carefully planning your layout for the motor and battery placement to maintain balance, using quality components to ensure reliability, and following a detailed transcript of the conversion process from resources available on platforms like YouTube. It's also advisable to test the cart in a safe area before taking it on the course.
Q: Can I add a fourth wheel to my push cart for better stability?
A: Yes, adding a fourth wheel can improve the stability of your electric trolley. This is especially beneficial when driving on uneven terrain or when carrying a heavier load. Make sure the fourth wheel is properly aligned and secured to ensure it works quite well during use.
Q: How do I steer my DIY electric golf cart?
A: Steering can be accomplished by using a remote control or by installing a swivel mechanism on the front wheels. If using an RC remote, make sure it is linked to the motor controller for seamless operation. If you decide to steer manually, ensure that the wheels turn easily and are well-attached to the frame.
Articles
More Articles

Backyard DIY Golf Net Setup: The Complete Guide to Building Your Home Practice Area

Best Golf Net for Home: Find Your Perfect Practice Net for Golf Hitting


